 TextEach
 Pro uses Apple Shortcuts to send each person a separate text from Messages. You only set up the shortcut once. For free manual sending, tap Send manually on Review Message.
1. Start setup
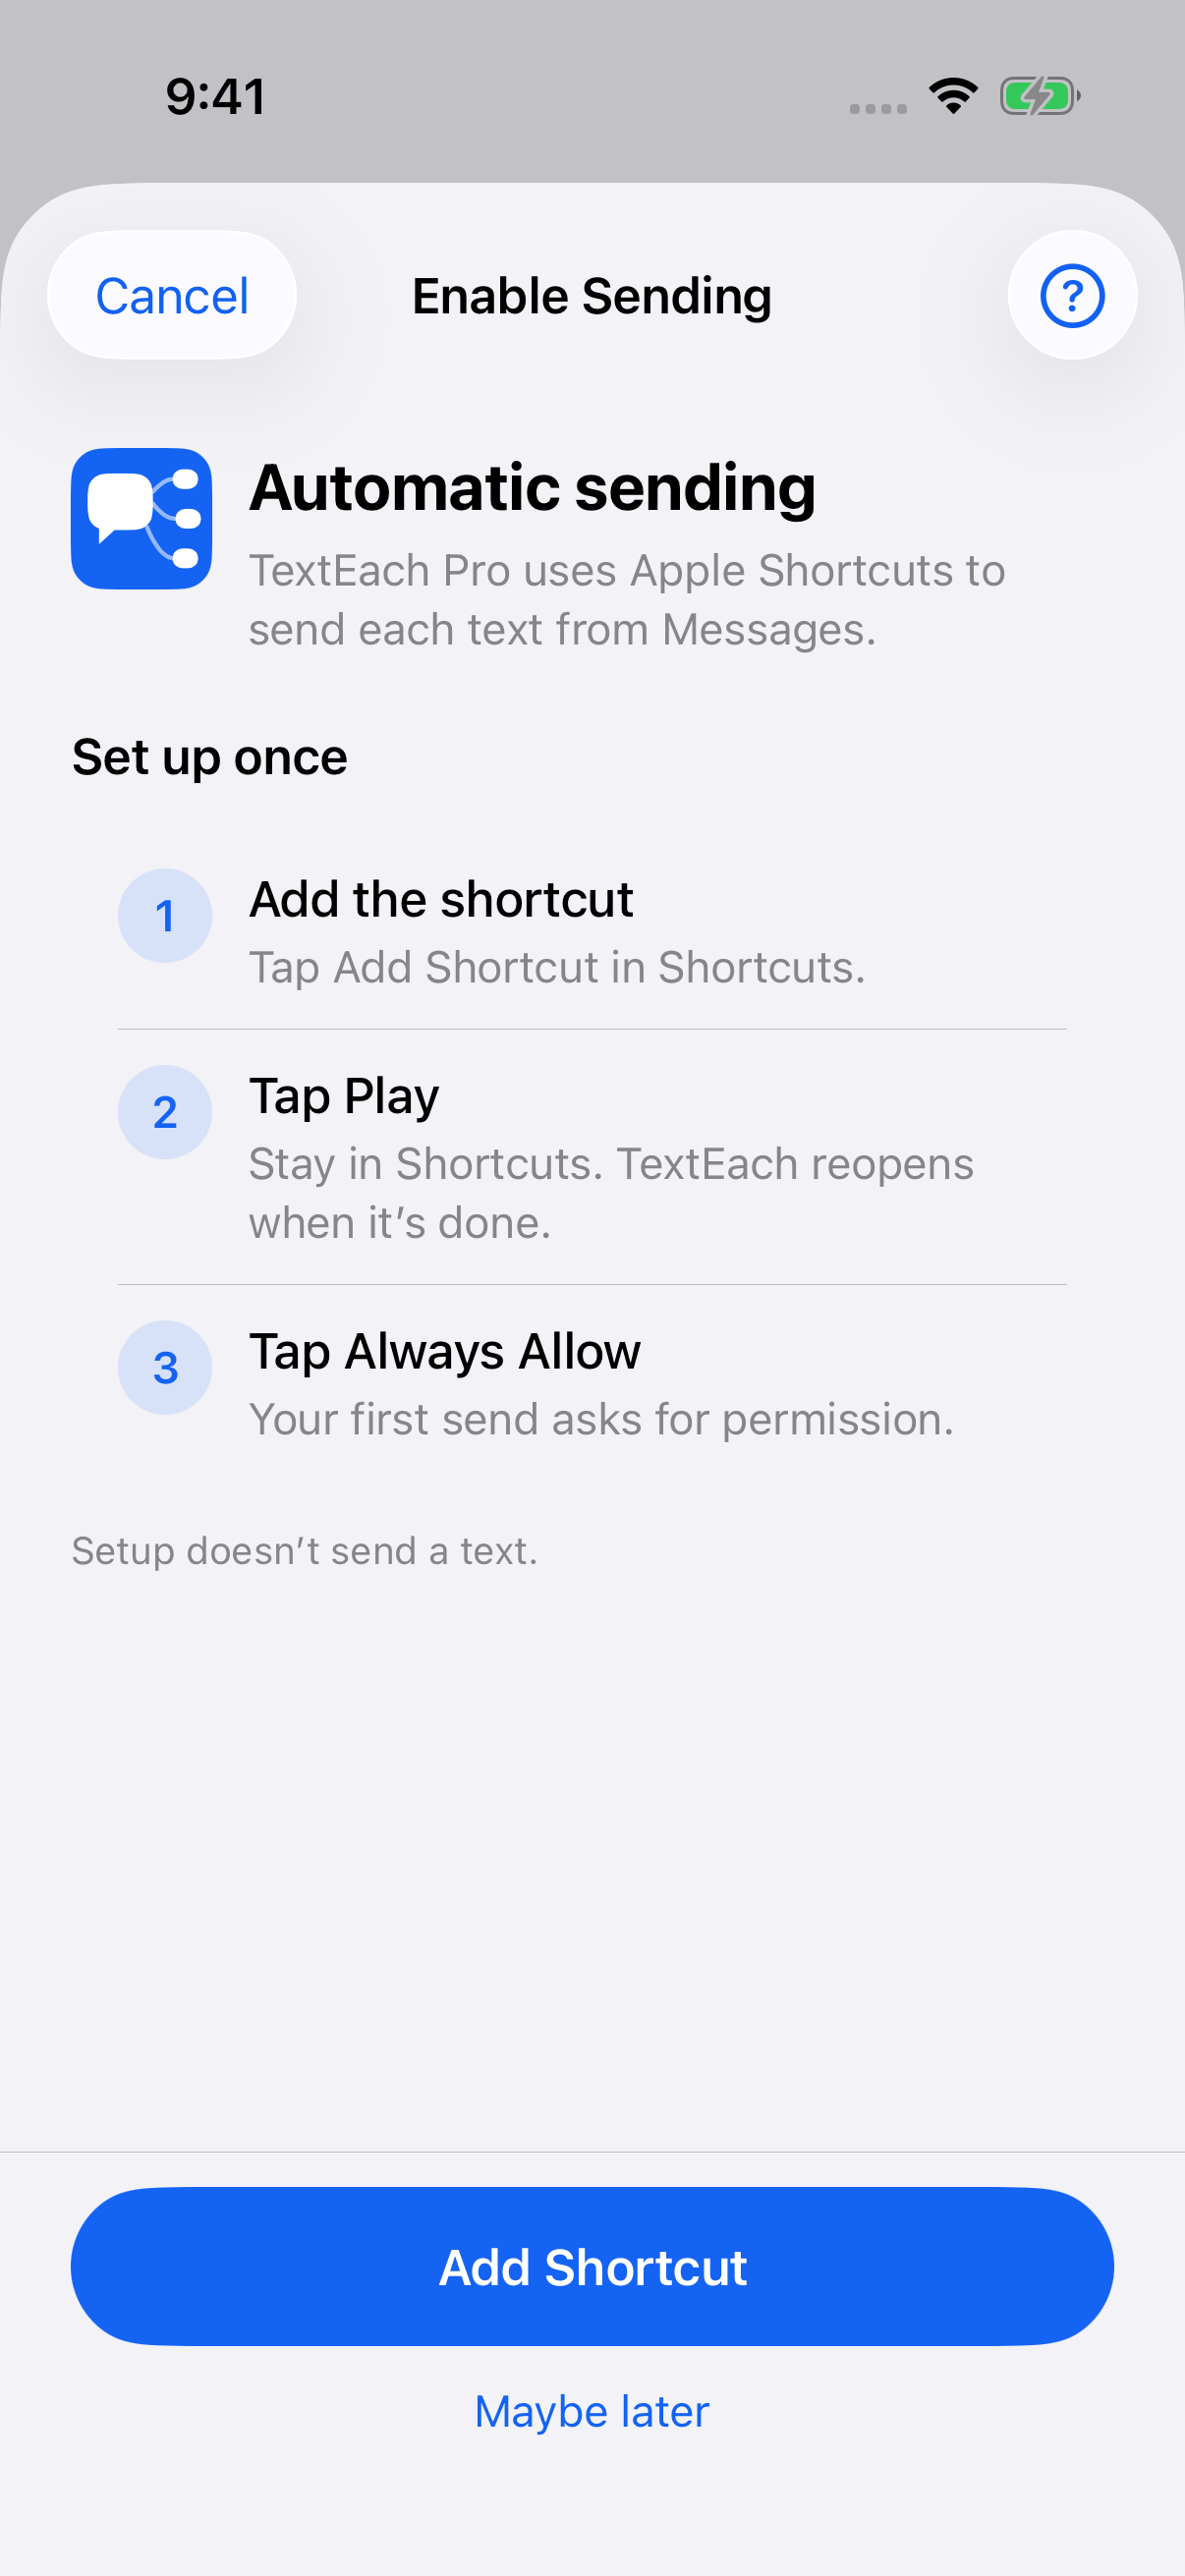
Write a message, tap Review, then tap Send automatically. If you choose a Pro plan here, TextEach returns to Review after the purchase. Tap Send automatically again when you’re ready. You can also start from Settings → Sending setup → Enable sending. Tap Add Shortcut.
2. Add the shortcut in Shortcuts
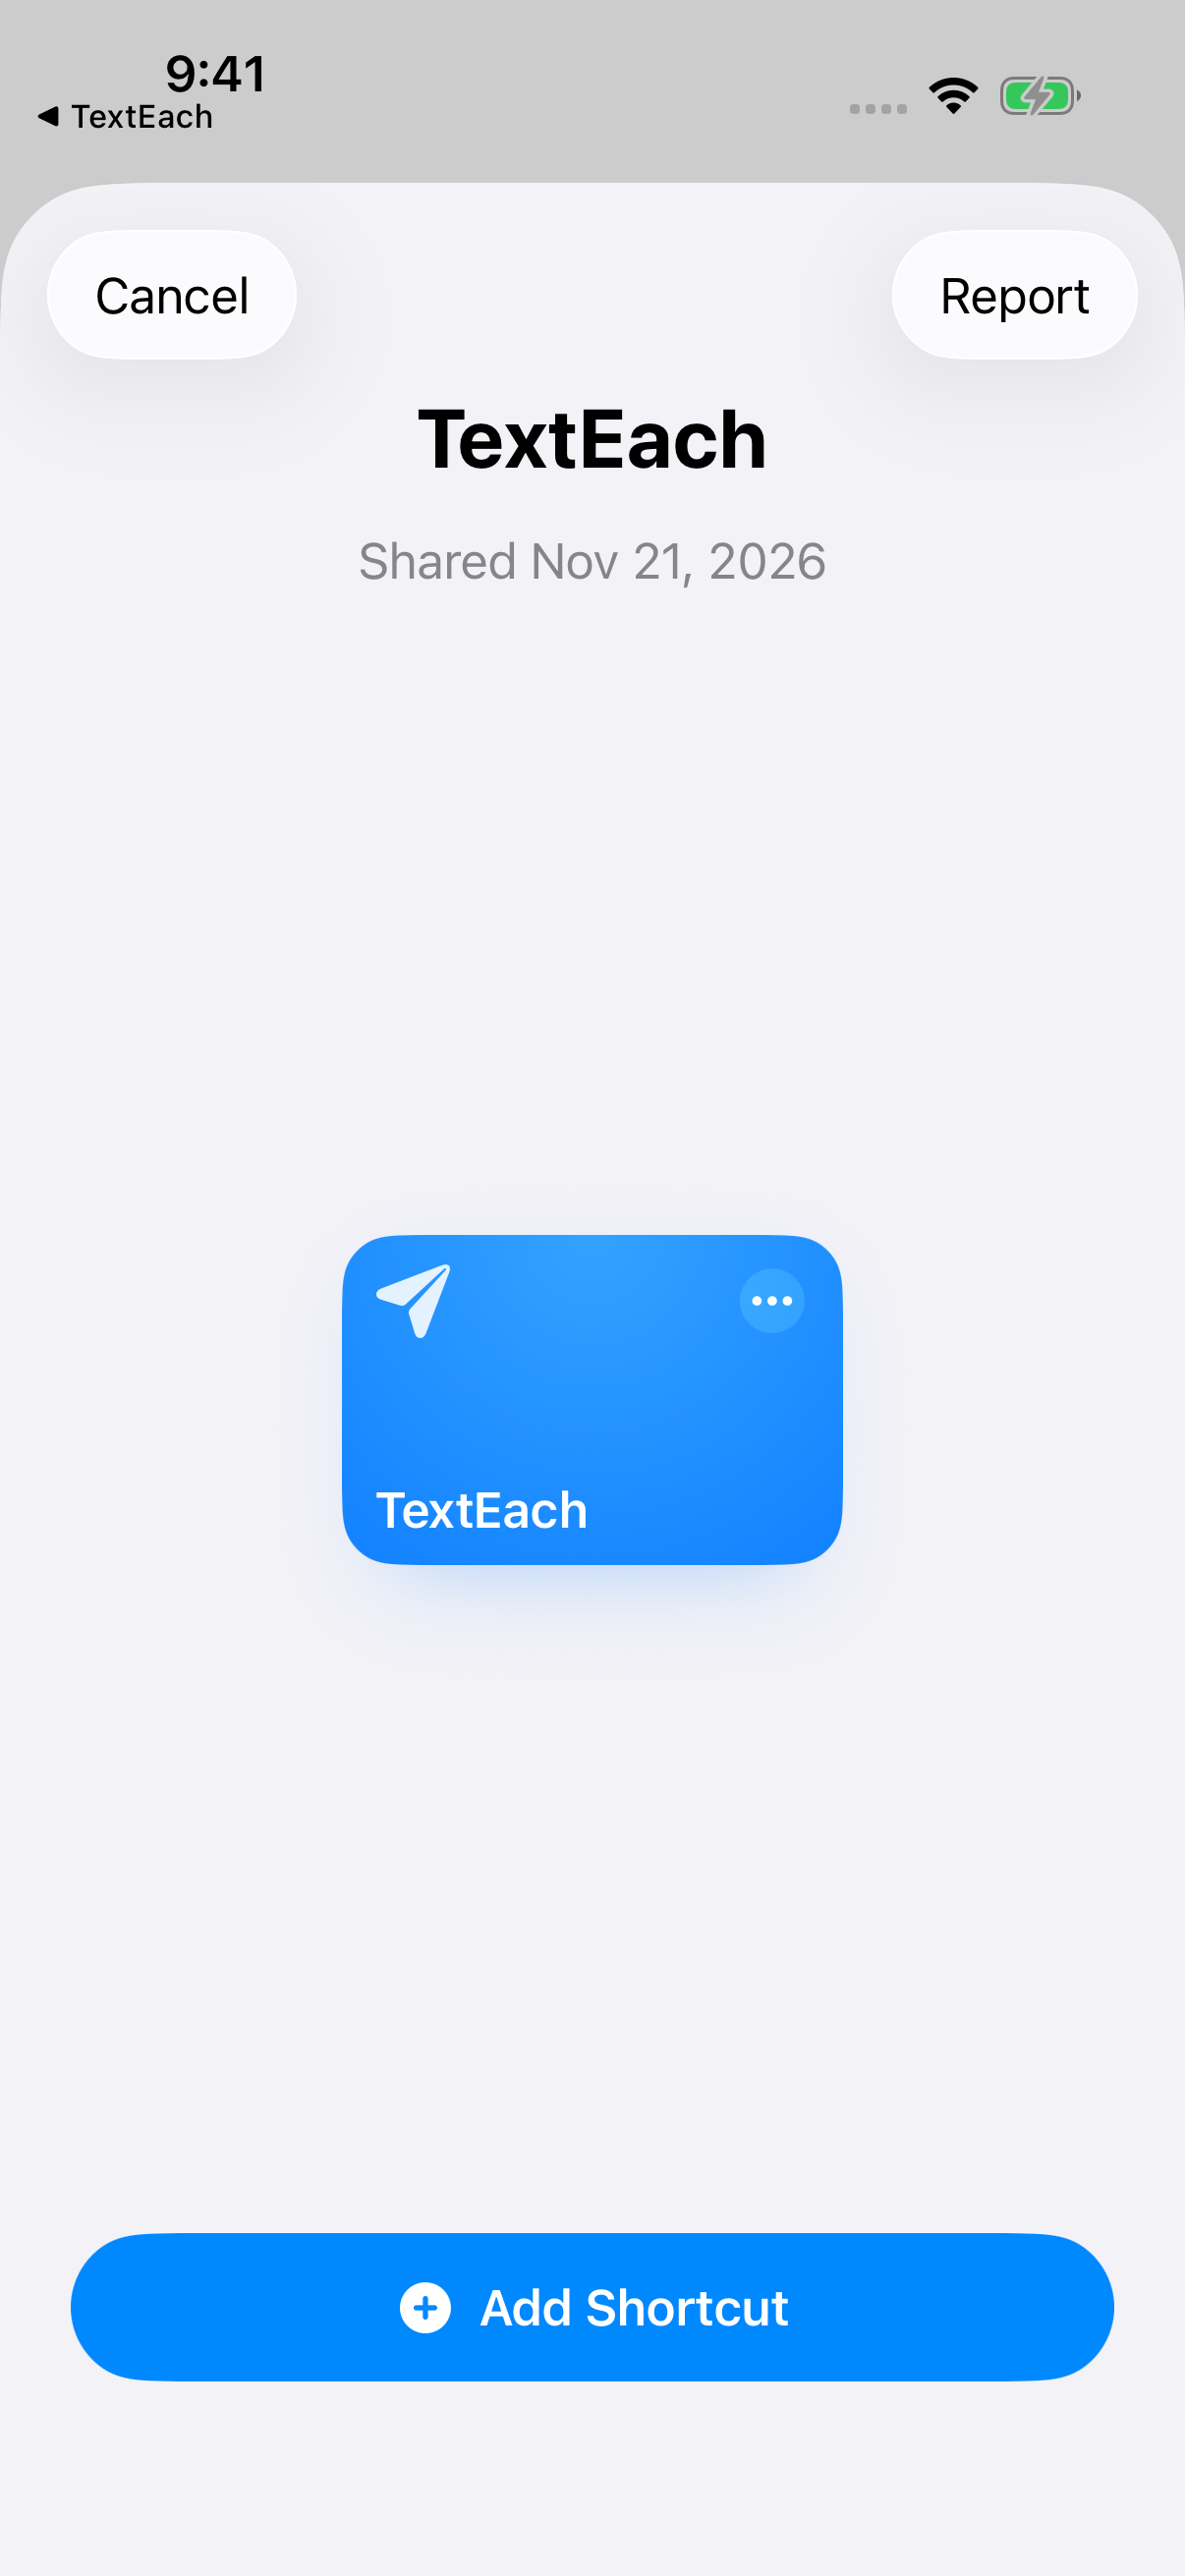
The Shortcuts app opens. Tap Add Shortcut. If you’ve added it before, tap Replace. Keep the shortcut named TextEach.
3. Run the setup check
On iOS 27 or later, allow notifications and leave Automation on when asked.
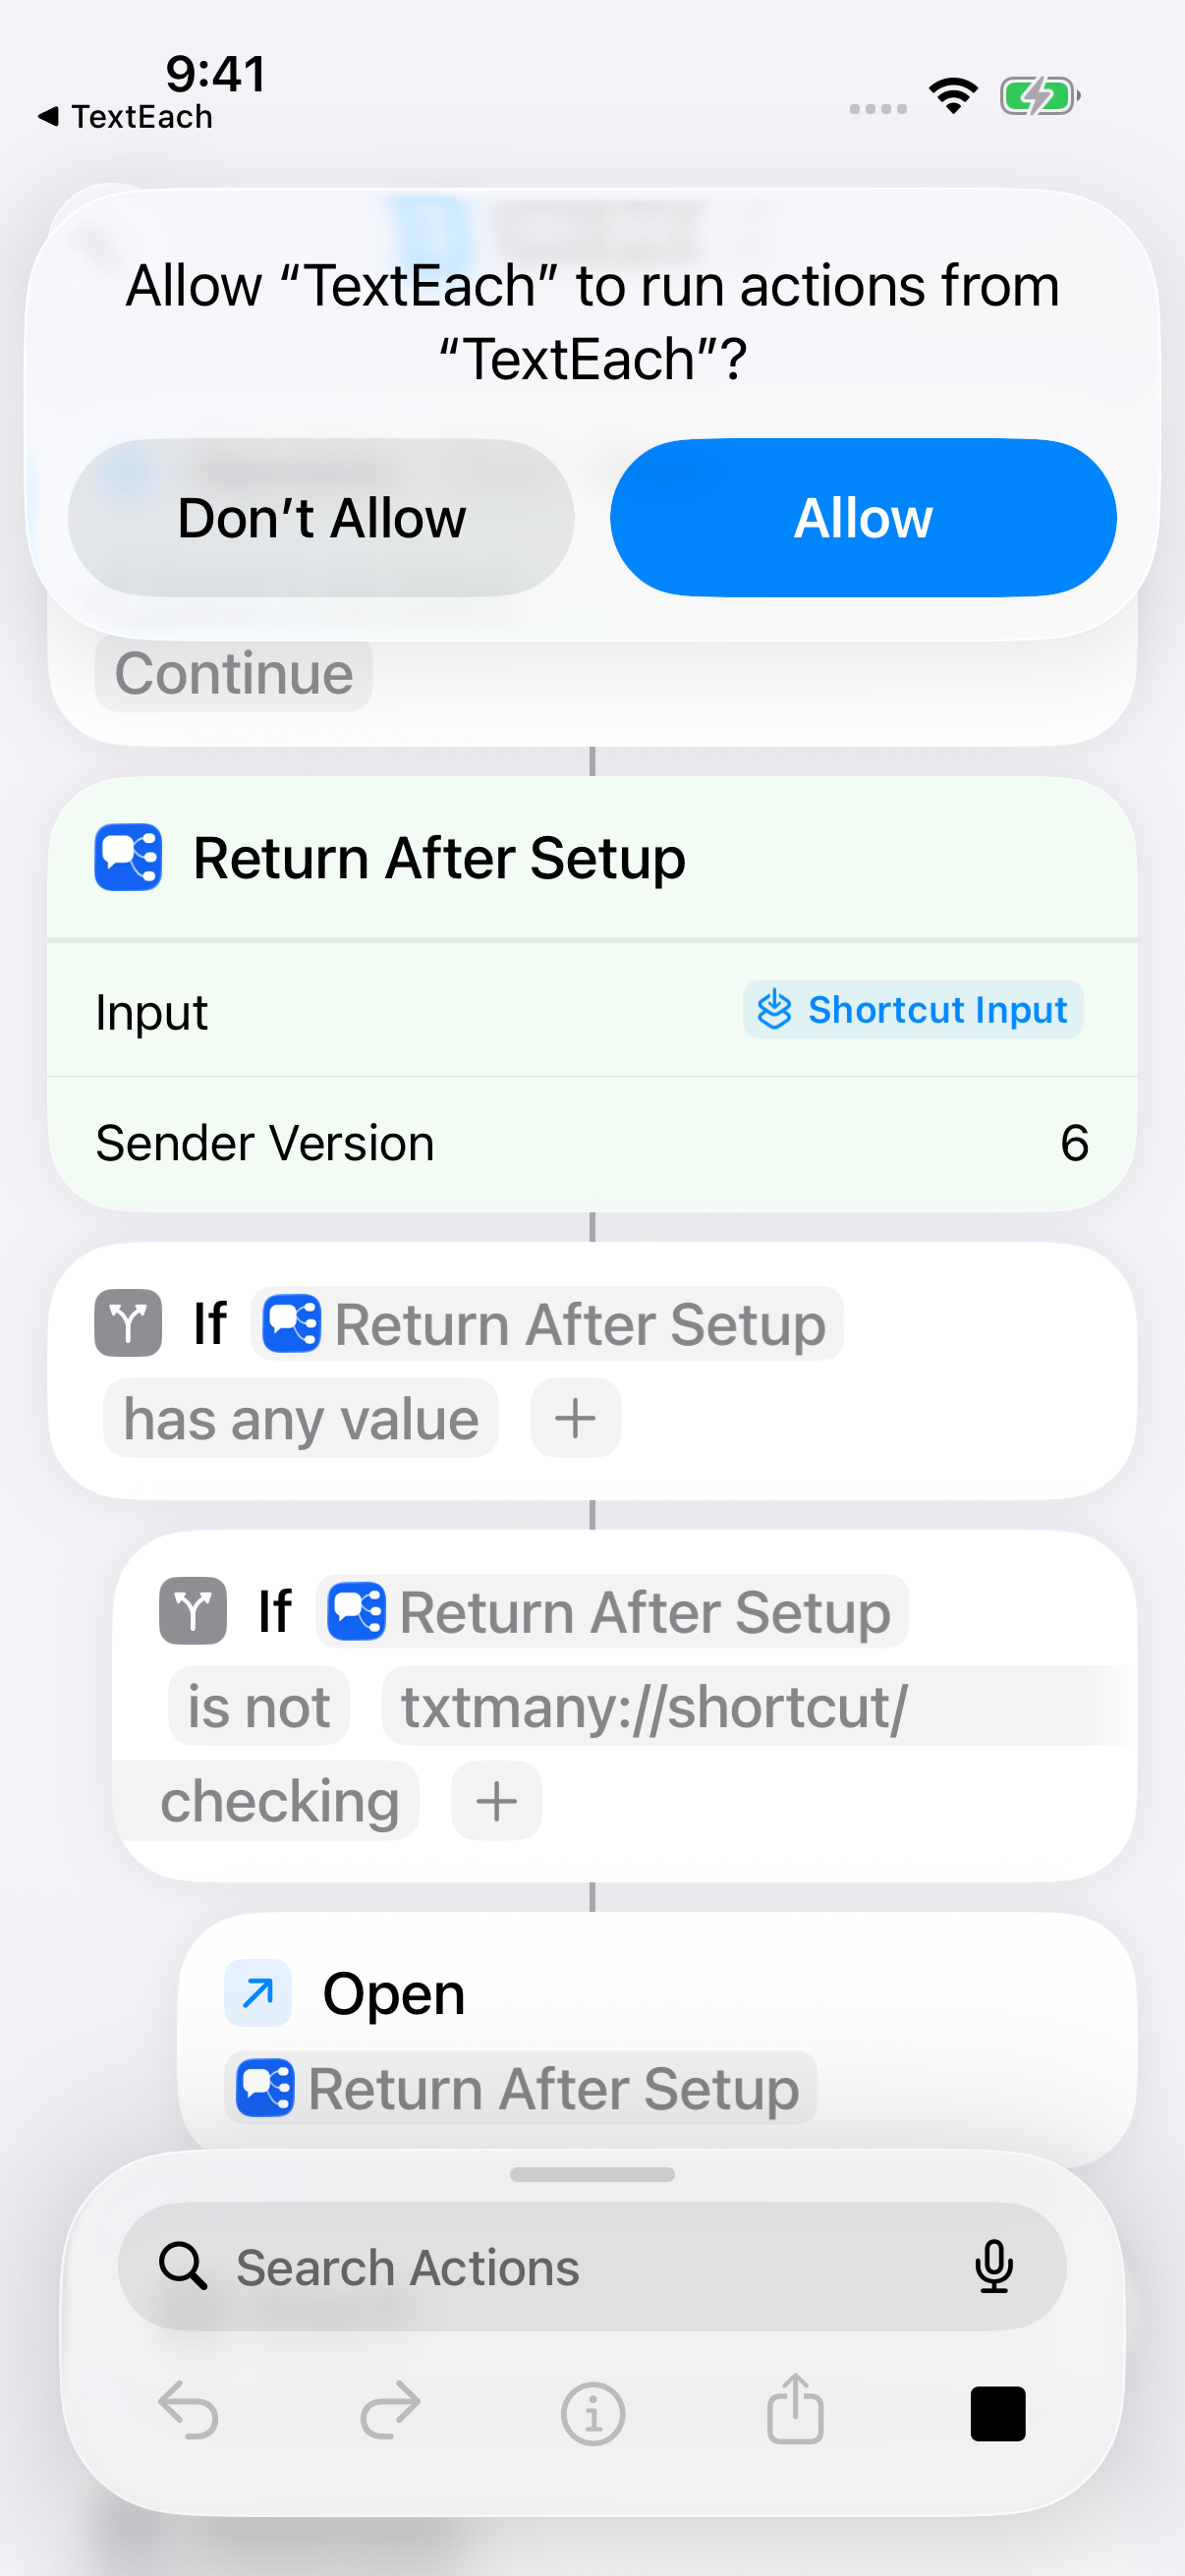
Tap Play on the TextEach shortcut and stay in Shortcuts until TextEach reopens. If Shortcuts asks whether TextEach can run actions, tap Allow. The check doesn’t send any texts.
- Can’t see Play? Tap Editor, then Play.
- Apple’s setup screen won’t close? Leave Automation on, tap Skip Setup, then tap Play on TextEach.
- TextEach didn’t reopen? Open Settings → Sending setup in TextEach and tap the button shown.
4. Send your first message
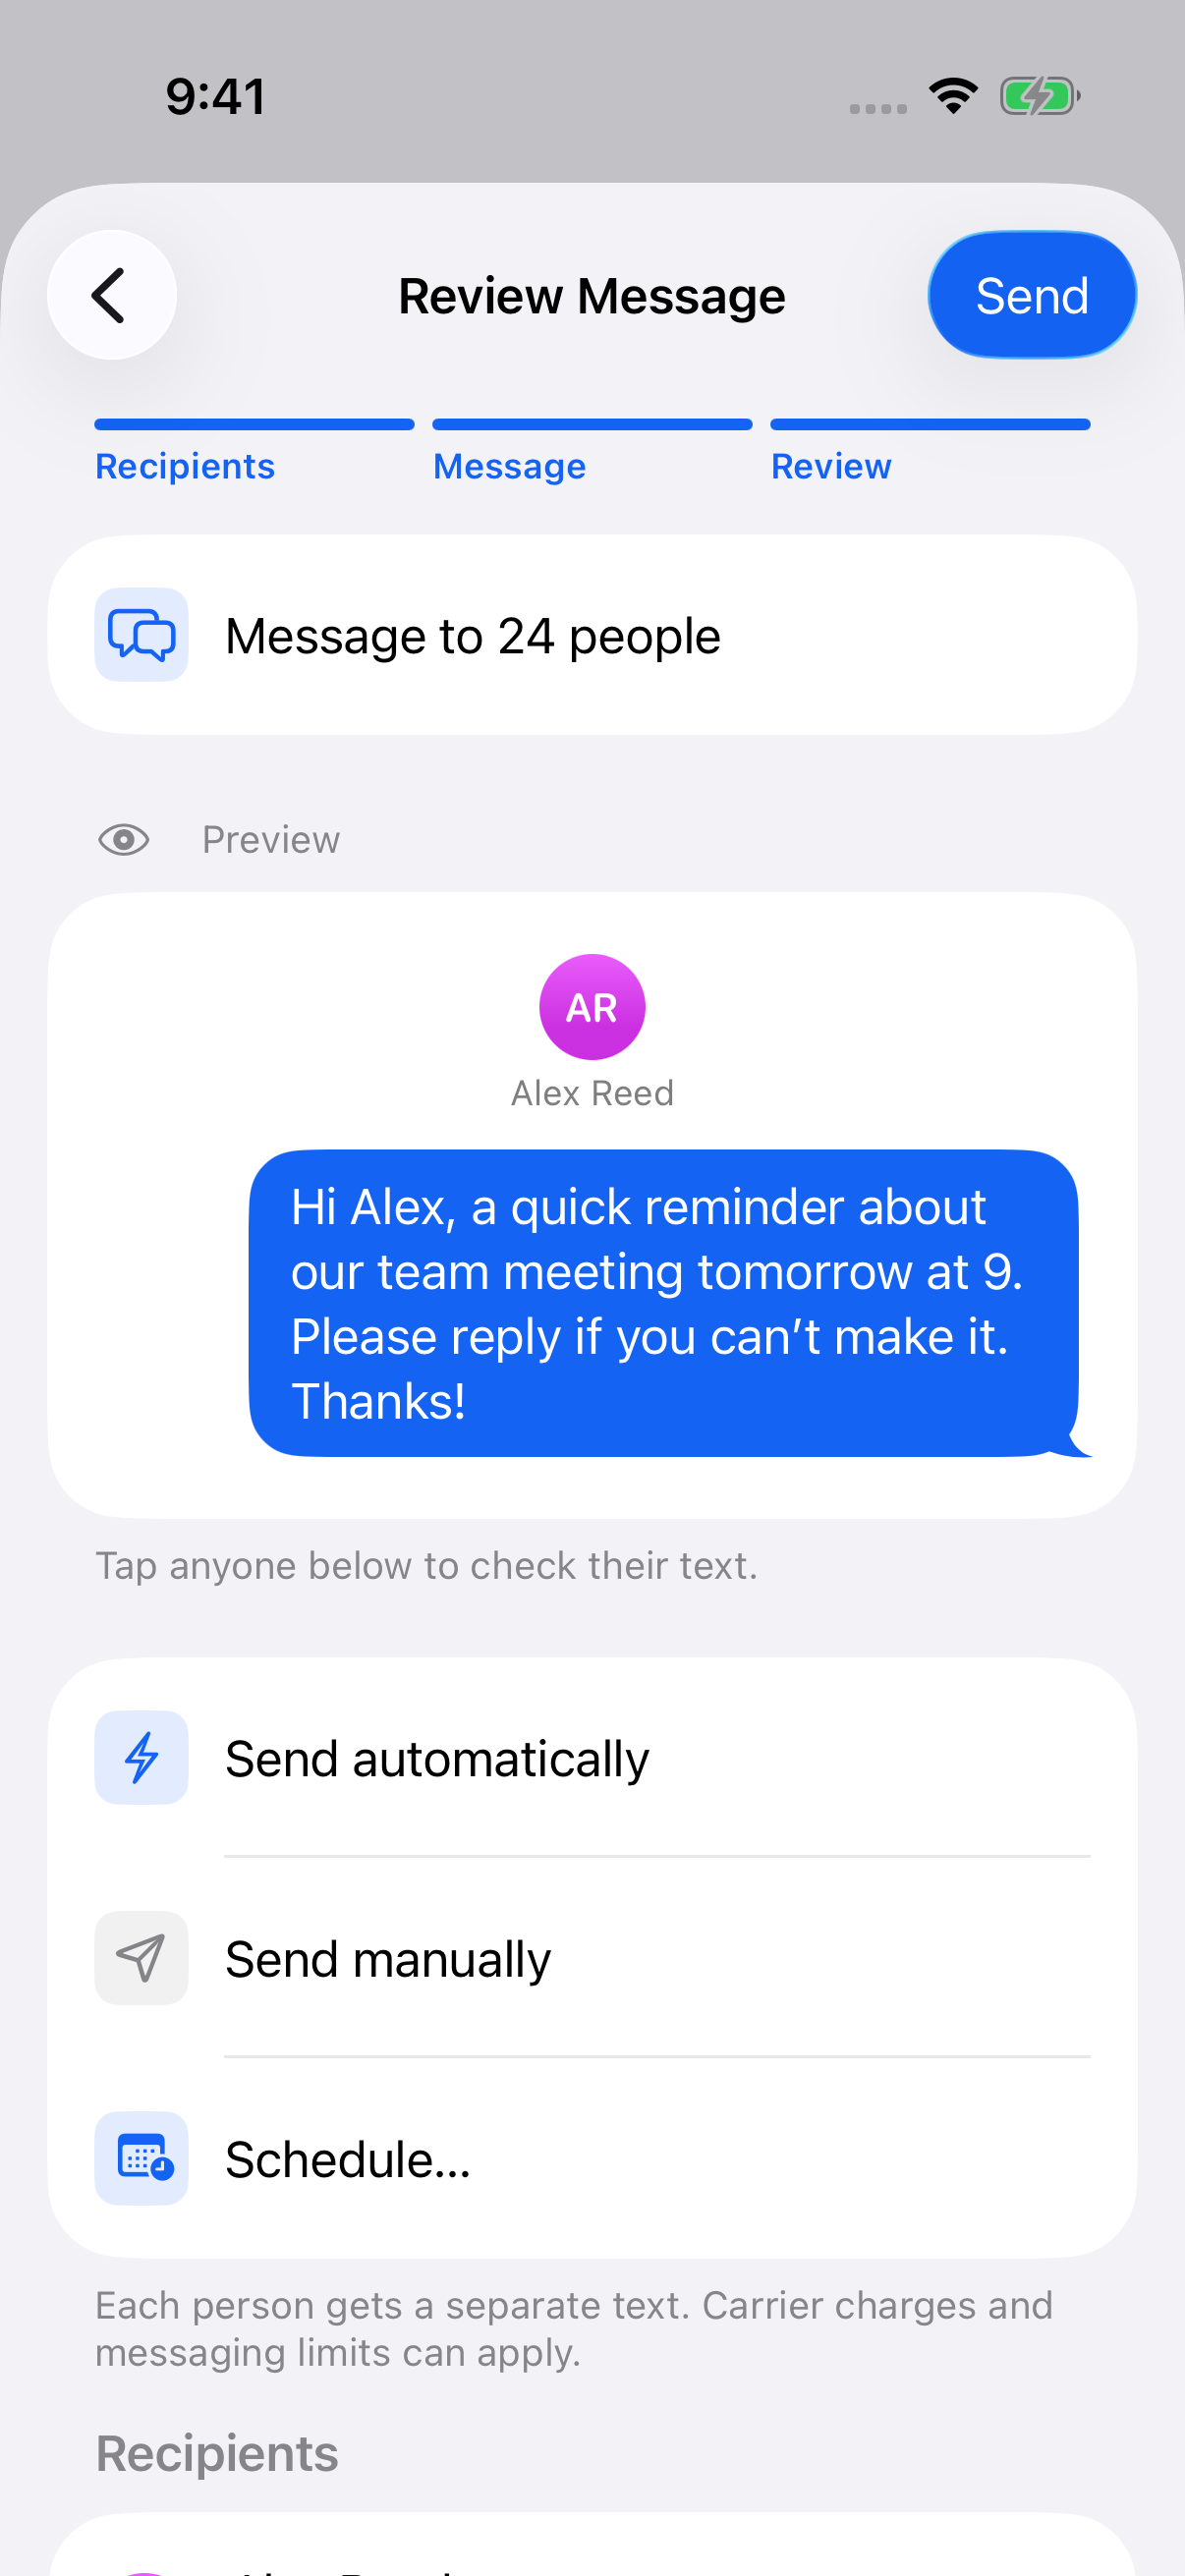
Back in TextEach, tap Send in the top right of Review Message. Do this with your iPhone unlocked and in your hand.
The first send asks to use Messages. Choose Always Allow, or Allow if that’s the only choice. Allow Once means it will ask again next time, which can hold up a scheduled send.
Each person gets their own text, and replies come back to Messages.
If something goes wrong
- Tapped Don’t Allow? In Shortcuts, open TextEach, then Details → Privacy → Reset Privacy. Send again and choose Always Allow.
- A text says Needs review? Check the conversation in Messages before you retry so nobody gets it twice.
- Sent to Messages means TextEach handed the text off. It isn’t a delivery receipt.
For more fixes, see Troubleshooting.
Still stuck? Contact TextEach Support.